- You are here:
- Home »
- Blog »
- Starting A Computer Repair Business »
- Tech Site Builder Review – Computer Business Website Builder

Tech Site Builder Review – Computer Business Website Builder
Tech Site Builder helps you get a computer business website up quickly, so you can start earning money sooner.
One of the first things a new Computer Business should be doing is getting a website up and running. It adds instant credibility to your business but it does need to look professional. Plus, getting rankings in the search engines takes time and the earlier you can get your website up and running the better.
The problem is that many computer technicians spend WAY too long getting their website up and running. Setting up databases, hosting, finding the perfect theme, finding plugins that work well and more. It all takes time and takes you away from what really matters – getting clients and making money.
How does Tech Site Builder help your business?
As the name implies, Tech Site Builder allows you to easily build a website for your computer business. The layout is already optimized for a computer repair service business and contains pretty much all the plugins you’ll need. Its fully hosted so you don’t need to worry about hosting, mobile responsive (super important now days), SEO ready and highly customizable so you can make it your own.
How does it work?
1. Naming your site
After getting through the checkout process, you are asked what temporary URL you wish to use and your business name. You do not have to use the yourname.techsitebuilder.com URL, you will generally want to point your own domain (like yourname.com) to this site. For this test, we’re going to make a website for our fictional “ABC Tech”:
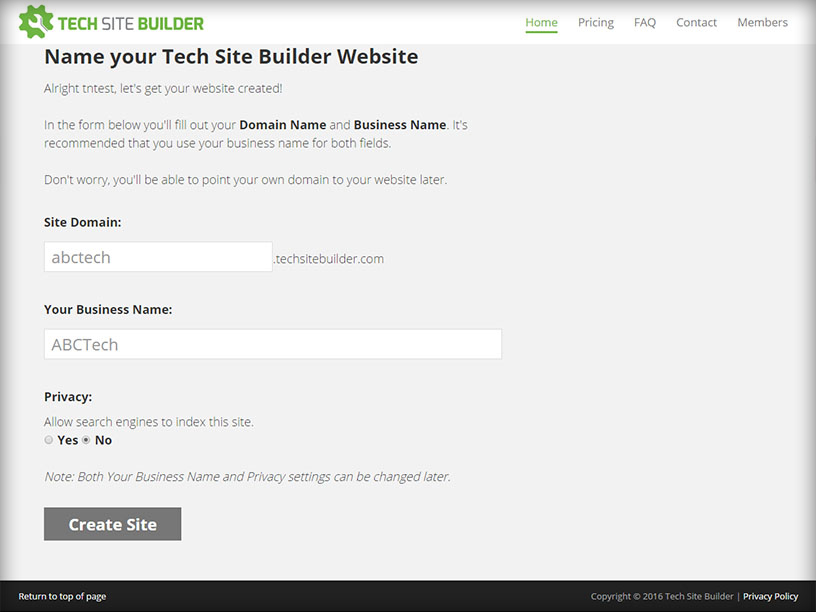
2. Logging in for the first time
Once you hit the Create Site button, you are shown the Dashboard with training videos on how to make the site your own. Tech Site Builder has streamlined the WordPress backend heavily to focus only on what matters.
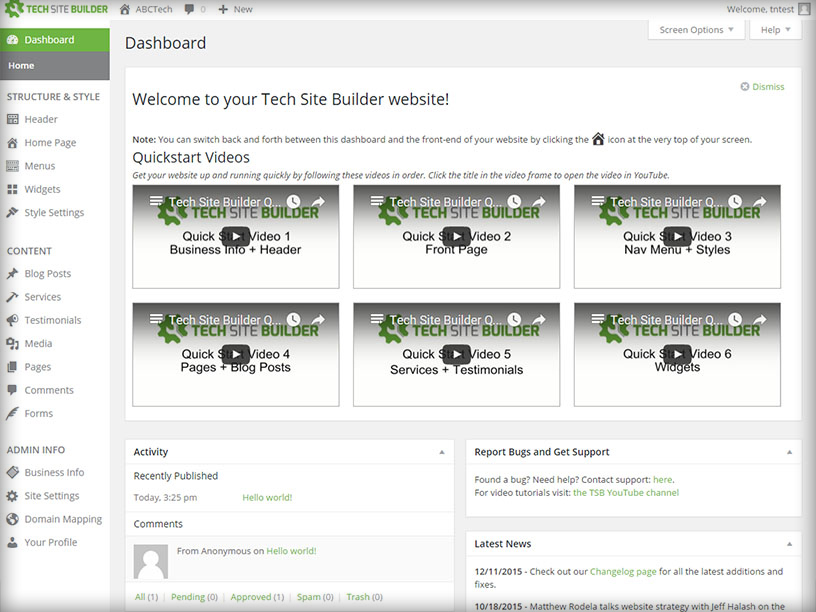
3. Checking out the vanilla Tech Site Builder layout
Without any changes, the vanilla Tech Site Builder template looks like this. It already contains most of the elements that computer business websites would want:
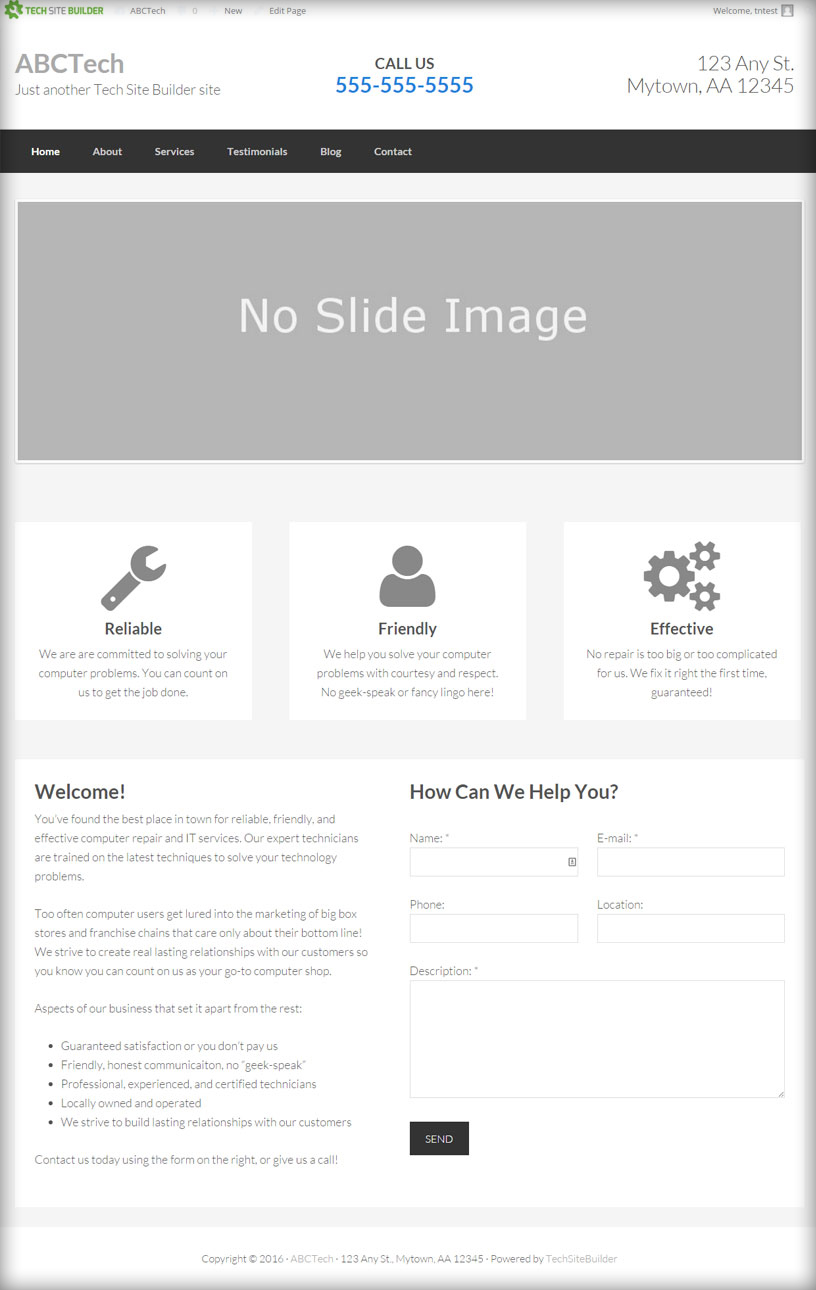
4. Changing our logo and header details
So lets start with changing the header. We uploaded our test logo, and set the middle third to be our phone number, and the right third our social media links.
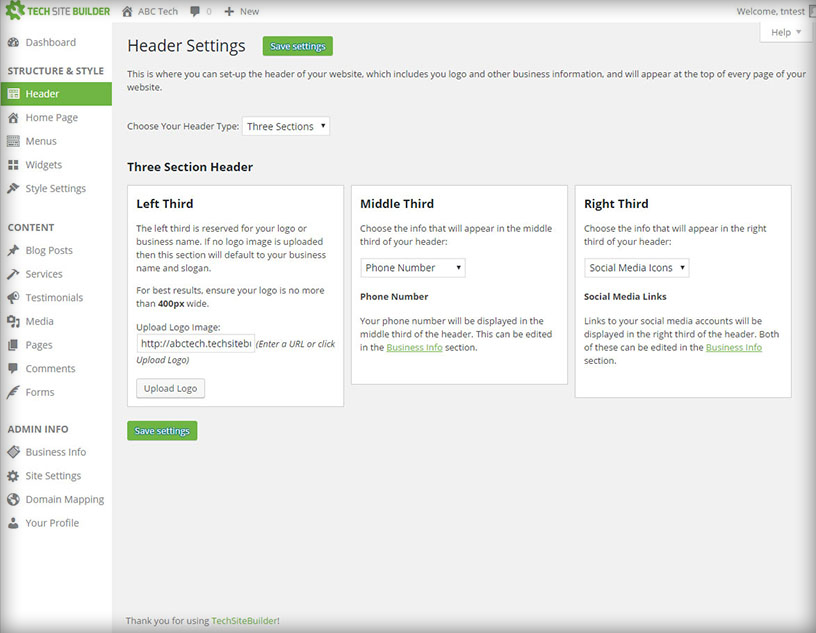
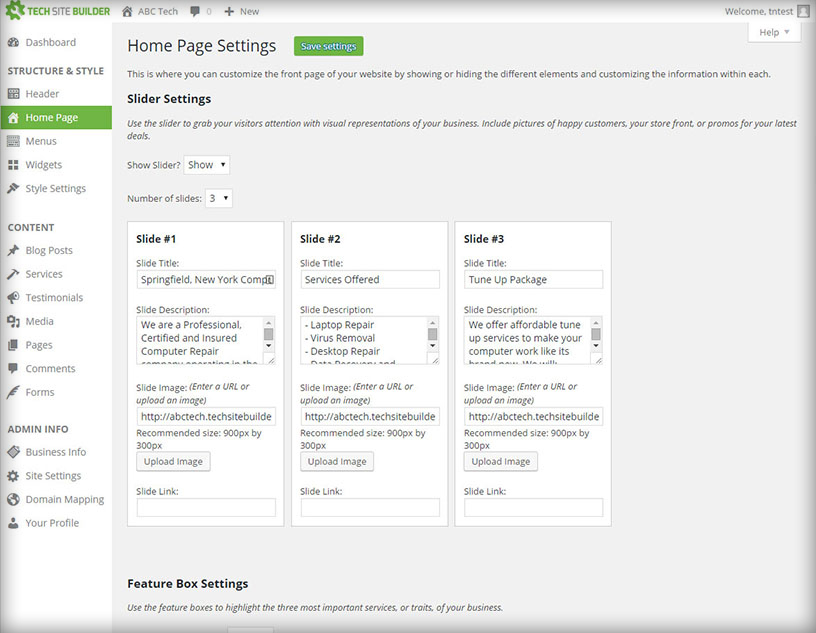
5. Adding our core services and pictures for the slider
This page controls the slider up the top of the site. We uploaded our images and filled out our 3 core services:
6. Setting our businesses color scheme
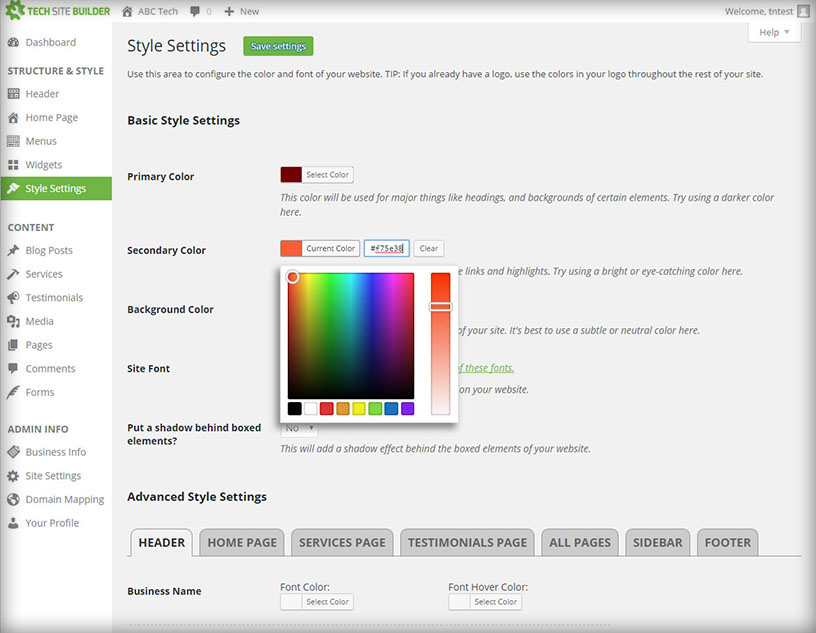
Now we can choose our color scheme, we went with red because it matches our sample logo:
7. Checking out how it all looks so far
Lets see how it all looks. Looks pretty good for only a few minutes work:

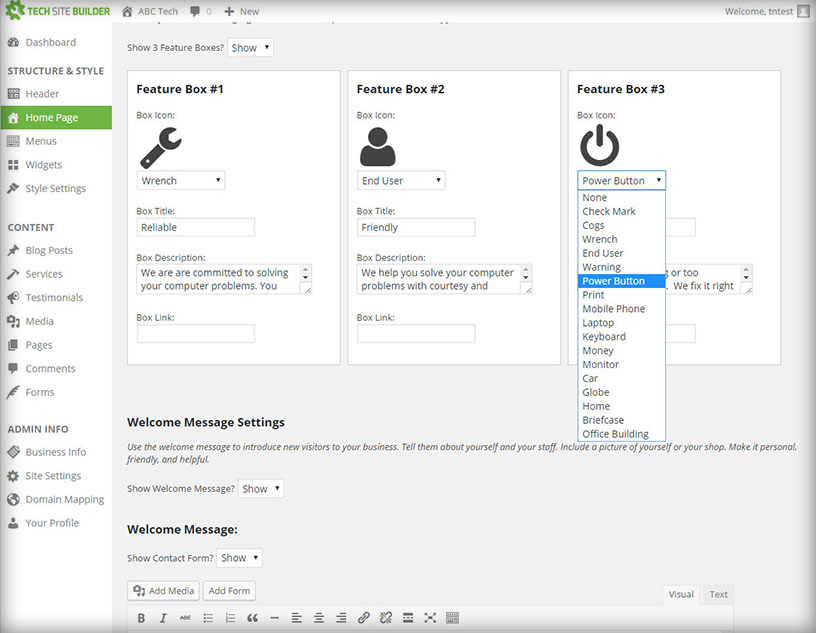
8. Changing our front page icons
We can edit the icons and the text on the front page, but we’ll leave them for now.
9. Adding pages for each of our services
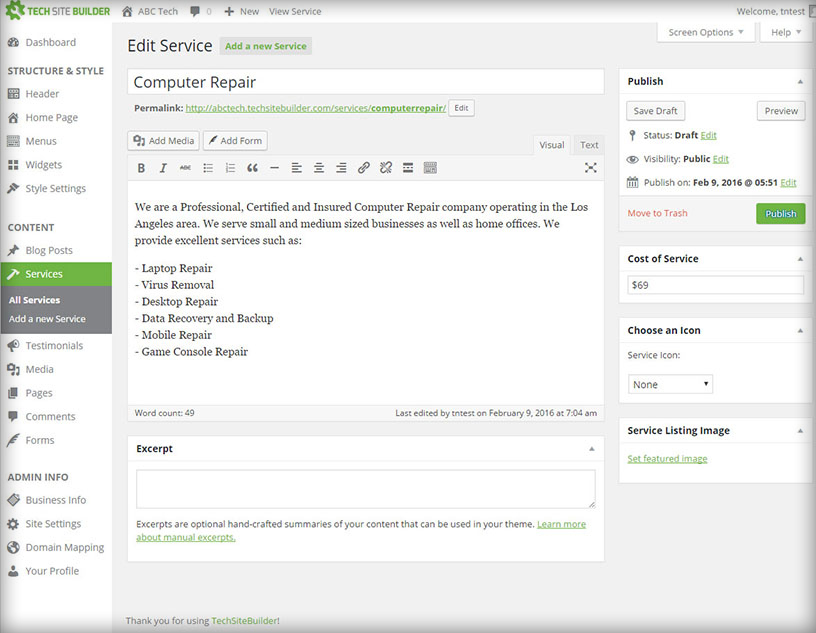
Here is the standard WordPress WYSIWYG editor. You can do all your text formatting here that you would expect in a word processor, or click on the “Text” tab and write it in HTML instead.
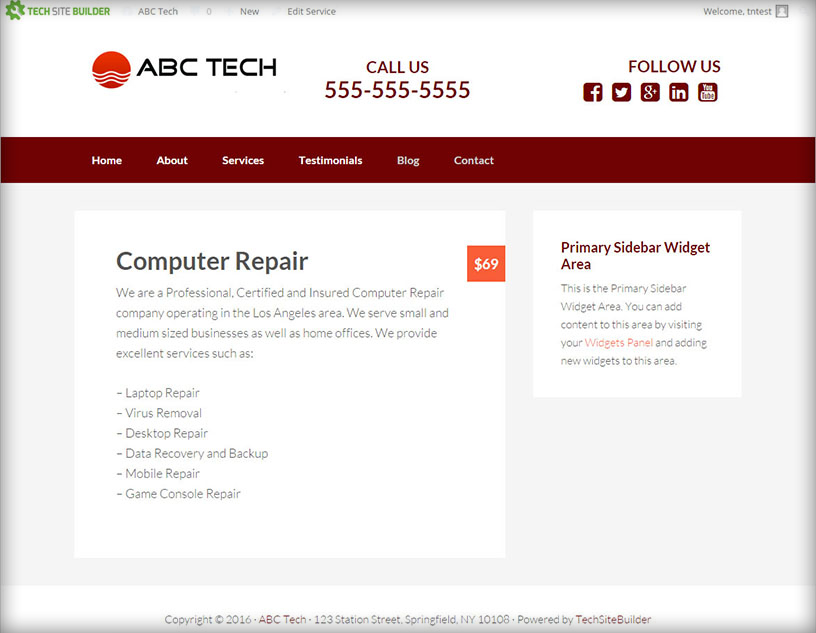
10. Our services page
Checking out our services page. You could fill this out with as little or as much content as you want, we’re just keeping it simple for now.
11. Adding a testimonial
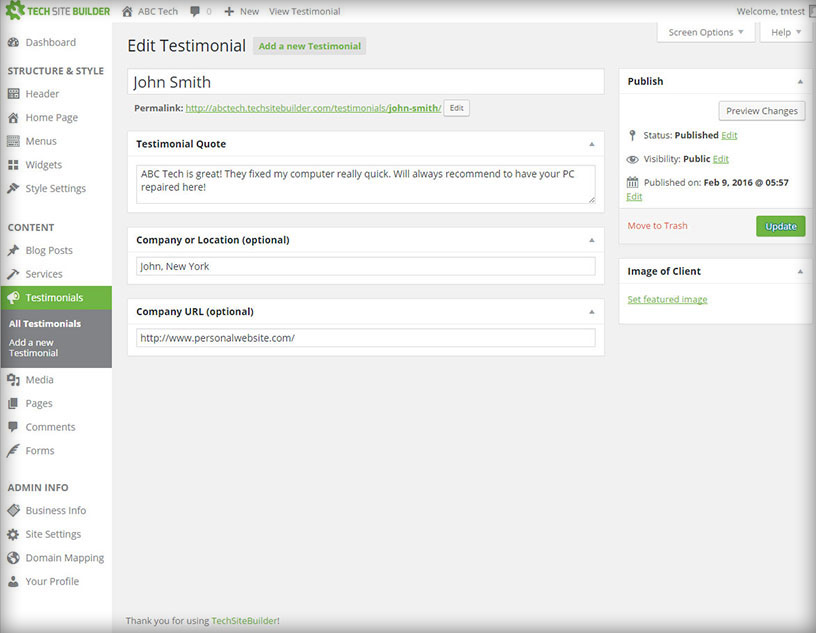
Its super easy to add a testimonial. Just enter the quote, location and an optional URL.
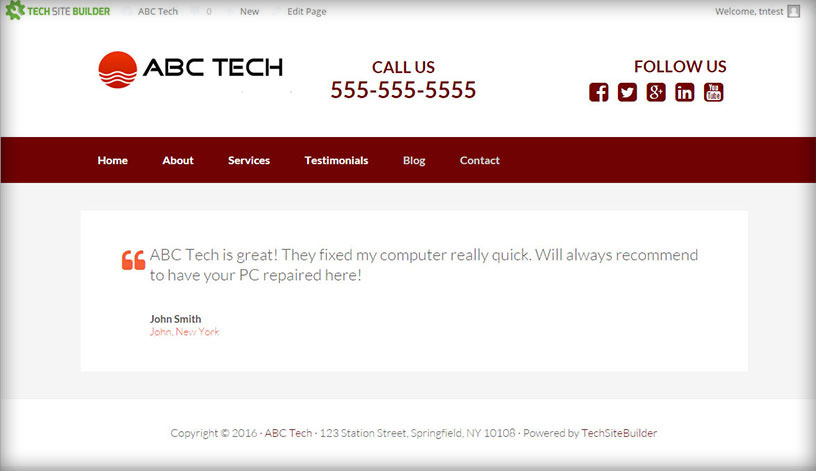
Final Product:

Looks great on Mobile too, which is super important these days:

Who should use this?
If you aren’t familiar with WordPress or web-hosting, then Tech Site Builder is the fastest way to get a site up and running. While already had our logo and text ready to go, our setup time for the site above was just 25 minutes.
It is an on-going monthly cost but the time it saves is well worth it. You dont have to worry about keeping your WordPress install up-to-date, you know its already SEO optimized, you know that the plugins it uses works well with it and if you run into any problems, you have their support line to help you.
Sign up for Tech Site Builder HERE ( Use coupon code: TN19 )
